Disclaimer: This content is for informational purposes only and does not replace professional medical advice, diagnosis, or treatment. Always consult a qualified healthcare provider before beginning any new exercise program.
You’re about to pick a push‑up board that matches your strength goals, so start by mapping the muscles you want to target and then compare material specs—aluminum or carbon‑fiber give 500 lb and 450 lb capacities while staying light, whereas HDPE and polypropylene are better for beginners. Check the color‑coded hand zones and adjustable width slots for ergonomic hand placement, and verify the rubber base’s non‑slip rating and level‑check method. Keep the total load under the board’s limit, tighten all fasteners regularly, and store it dry to preserve durability. The next step will reveal how portability and size affect your home‑gym setup.
Key Takeaways
- Pick a board material that matches your strength and portability needs: HDPE (300‑350 lb), aluminum (500 lb), carbon‑fiber (450 lb, ultra‑light).
- Choose color‑coded handle zones (blue for chest, red for shoulders, green for triceps) and slot width that fit your hand size and desired leverage.
- Verify the non‑slip base works on your floor type and level the board with a spirit level or app before each session.
- Ensure total load (body weight + extra resistance) stays below the board’s 500 lb/227 kg limit and that the frame is securely tightened.
- Perform regular maintenance: wipe the base, inspect handles and rubber expanders for cracks, and rotate the board periodically to evenly wear.
Figure Out Which Muscles You Want to Strengthen With a Push‑Up Board
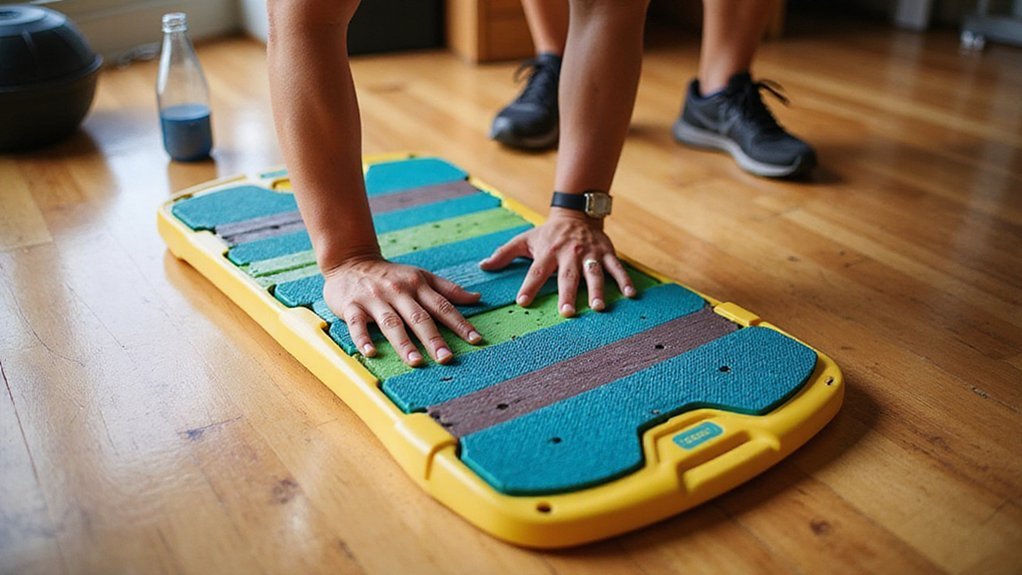
When you decide which muscles to target, start by pinpointing the **primary movers**: the pectoralis major for chest development, the anterior deltoids for shoulder strength, and the triceps brachii for arm power.
First, map each mover to a color‑coded handle zone on the board—blue for the pectoralis major, red for the anterior deltoids, green for the triceps brachii.
Verify that the board’s placement positions keep your wrists neutral, reducing joint stress while you load the chosen zone.
Check the board’s load capacity, up to 500 lb, to confirm it can support your body weight and the specific push‑up variation you intend to perform.
Finally, use the built‑in markers to align your hands precisely, ensuring consistent placement that isolates the targeted muscles and minimizes compensatory movement.
Compare Materials and Load‑Capacity of Push‑Up Boards
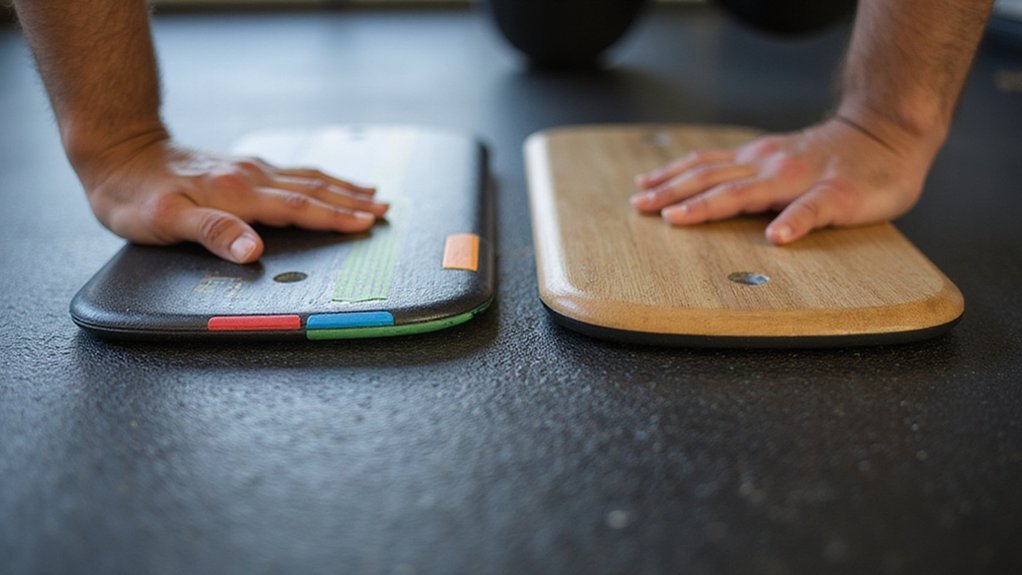
Having identified the muscle groups you’ll target, the next step is to evaluate the board’s material and load‑capacity to guarantee it can handle your body weight and any added resistance.
High‑density polyethylene (HDPE) offers a solid load‑cap of 300‑350 lb, suitable for most users, while aerospace‑grade aluminum pushes the load‑capacity to 500 lb without deformation.
Polypropylene boards are ultra‑light (≈1 lb) but cap at 250 lb, making them ideal for beginners but insufficient for heavy‑load training.
A reinforced carbon‑fiber board combines a feather‑light weight (≈0.8 lb) with a 450 lb load‑cap, delivering superior strength at a higher price.
Choose designs with steel or aluminum frames and a non‑slip rubber base for added impact resistance.
Always verify the board’s maximum load‑capacity exceeds your body weight plus any extra resistance, such as weighted vests.
Evaluate Color‑Coded Hand Positions on a Push‑Up Board
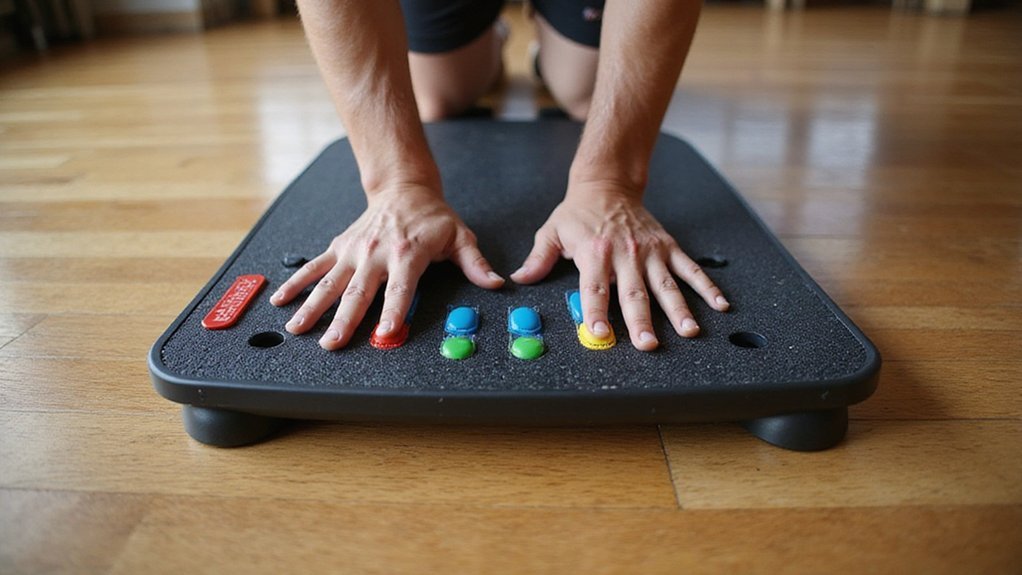
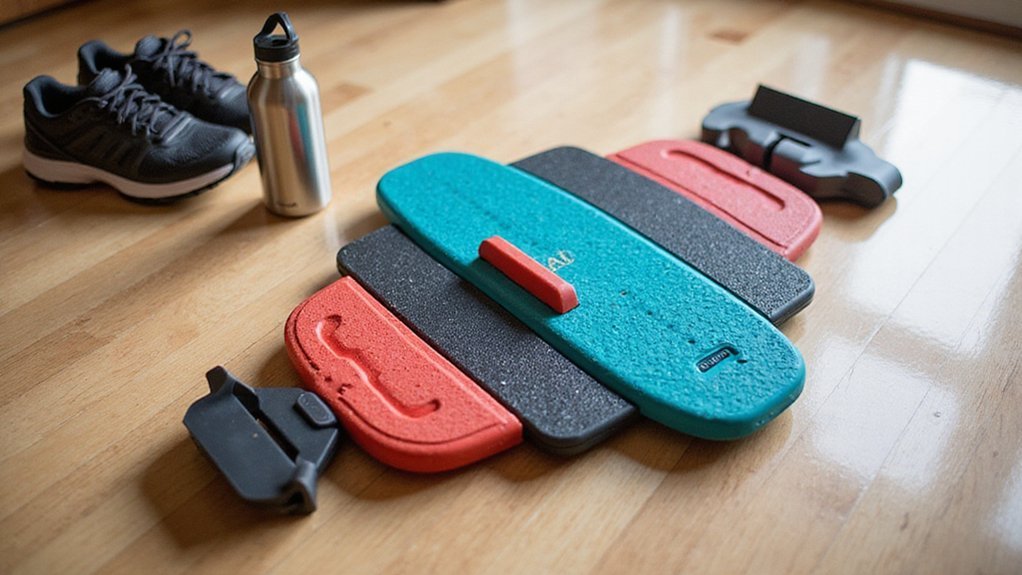
A handful of color‑coded zones—red for shoulders, blue for chest, green for triceps, and yellow for back—guide your hand placement so you can target specific muscle groups with each push‑up. Each zone’s width is calibrated; narrower slots increase leverage and difficulty, while wider slots provide a stable, beginner‑friendly grip. The hand placement markers sit 3–4 inches apart, matching ergonomic shoulder‑width guidelines to reduce joint strain. Switching between color-coded hand zones lets you apply progressive overload without swapping equipment, so you can track strength gains systematically. Rubber‑coated handles in each zone keep your hands secure, minimizing slippage and wrist injury risk.
| Zone | Primary Target |
|---|---|
| Red | Shoulders |
| Blue | Chest |
| Green | Triceps |
| Yellow | Back |
Verify Non‑Slip Base and Weight‑Limit Safety of Push‑Up Boards
The color‑coded hand zones let you target specific muscles, but a secure foundation is equally essential.
First, inspect the non‑slip base material; rubber or silicone should cling to hardwood, tile, or carpet without sliding through a full set.
Next, confirm the weight capacity—often 500 lb/227 kg—by adding your body weight and any extra load, such as a weighted vest, and guarantee you stay below that limit.
Finally, place the board on a stable platform, using a spirit level or phone app to verify flatness and prevent uneven pressure that could cause tipping.
- Test the base on multiple floor types for consistent grip.
- Compare total load to the manufacturer’s weight capacity.
- Make certain the board sits on a level, stable platform before each session.
Choose Push‑Up Board Size and Portability for Your Home Gym
If you need a board that fits comfortably in a home gym, prioritize a compact, foldable design that collapses to under 12 in × 12 in for easy shelf or closet storage.
Choose a model that folds or disassembles to that size and is built from lightweight high‑density foam or ABS plastic, typically weighing 1–2 lb, to maximize portable portability.
Verify the surface dimensions; a 24 in × 16 in board supplies sufficient range of motion for standard and inclined push‑ups without crowding.
Guarantee the board includes a non‑slip base or rubber feet, securing stability on hardwood, carpet, or tile.
Check that handle slots are color‑coded and spaced for both small and larger hands, allowing a comfortable grip without overreaching while preserving the board’s structural integrity.
Maintain Your Push‑Up Board for Longevity and Support
Choosing a compact, foldable board helped you save space, but preserving that convenience requires regular upkeep. To keep your clean board functional and safe, follow a disciplined maintenance schedule that targets the surface, hardware, and storage conditions.
First, wipe the non‑slip base after each session with a mild, non‑abrasive cleaner and a soft cloth; this prevents sweat and oil buildup that can degrade grip. Next, inspect handles, color‑coded slots, and rubber expanders weekly for cracks or loose fittings, tightening screws and replacing worn parts promptly. Finally, store the board in a dry, temperature‑controlled area away from sunlight, and rotate it 180° every few weeks to distribute wear evenly.
- Clean board after every use with gentle cleanser and soft cloth.
- Tighten hinges, screws, and metal rings; replace cracked handles or rubber expanders.
- Store dry, temperature‑controlled, rotate 180° periodically for even wear.
Conclusion
Pick the board that matches your strength goals and space constraints. If you need high durability and low weight, go for aerospace‑grade aluminum or reinforced carbon‑fiber; for beginners, HDPE or polypropylene works fine. Verify the color‑coded hand zones, adjustable width slots, and non‑slip rubber base, then confirm the platform is level and the total load stays under the 500‑lb rating. Regularly inspect, tighten, and store the board dry to guarantee safety and longevity.