Disclaimer: This content is for informational purposes only and does not replace professional medical advice, diagnosis, or treatment. Always consult a qualified healthcare provider before beginning any new exercise program.
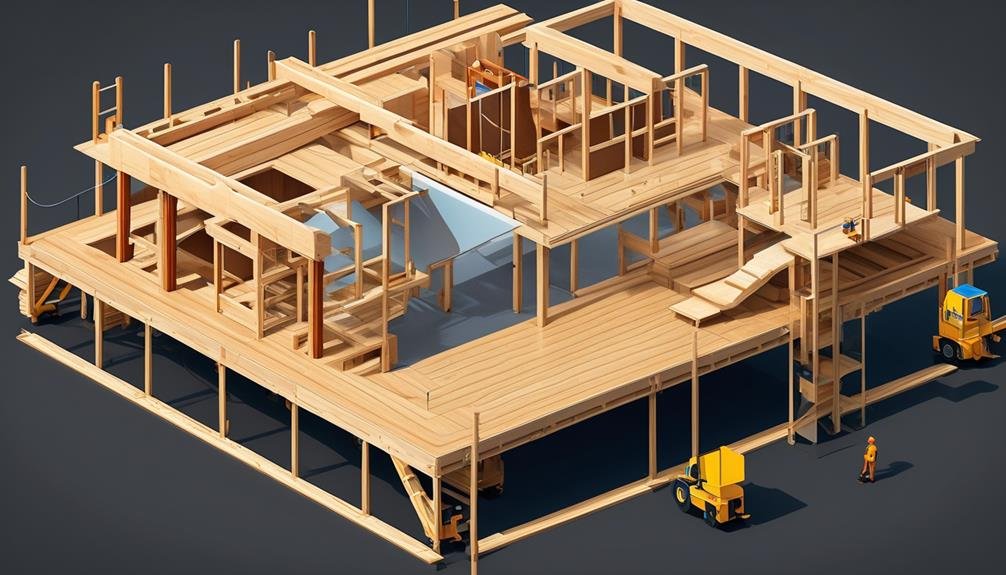
Are you tired of paying expensive gym memberships just to have access to a lifting platform or squat rack? Well, the good news is that you can build your own DIY lifting platform or squat rack right at home.
Imagine having the convenience of a dedicated space for your workouts, without the hassle of traveling to the gym. But how exactly can you achieve this?
In this discussion, we will explore the steps and considerations involved in building your own lifting platform. So, if you're ready to take your home gym to the next level and maximize your lifting potential, keep reading to discover the possibilities that await you.
Key Takeaways
- Building a DIY lifting platform offers several benefits such as providing a stable surface for heavy lifts, protecting floors from damage, reducing noise during workouts, and enhancing focus on proper form.
- To build a DIY lifting platform, the necessary materials and tools include a drill, drill bits, utility knife, metallic Sharpie, tape measure, plywood sheets, rubber stall mat, wood screws, and flat washers.
- The step-by-step guide for building a lifting platform includes laying out rubber mats, placing plywood sheets on top, securing them with wood screws, optionally adding an additional rubber mat, and then placing bumper plates for lifting.
- To maintain the DIY lifting platform, regular cleaning and inspection for damage caused by dropped weights are necessary. Using bumper plates and smaller iron plates can minimize wear and tear, and periodic checks for tightness on the squat rack bolts are recommended.
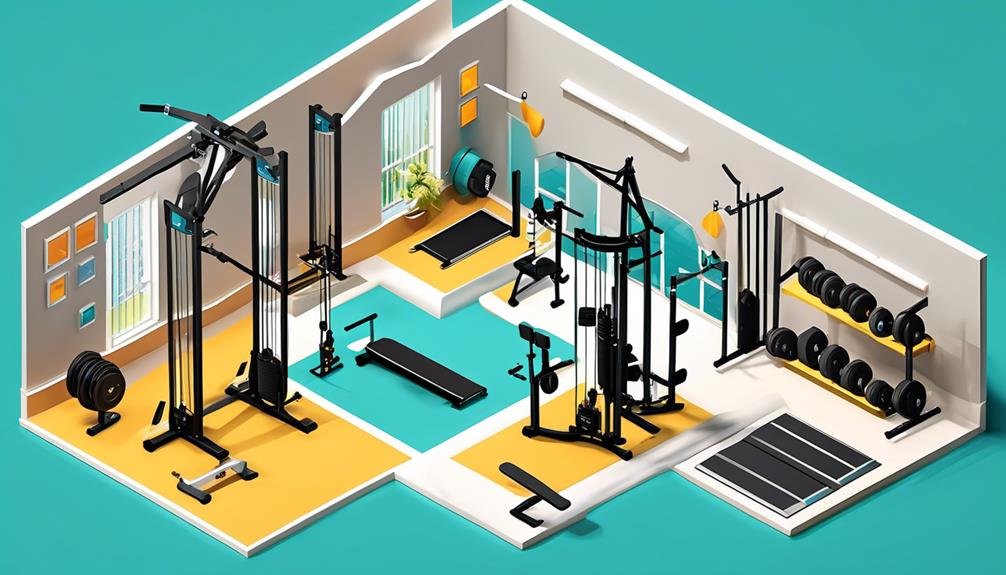
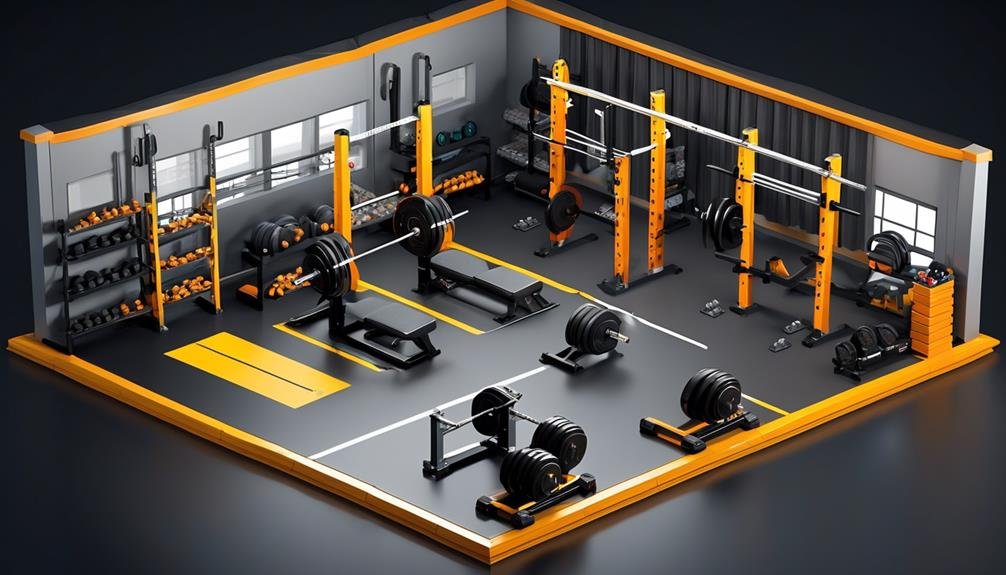
Benefits of DIY Lifting Platforms
Building your own DIY lifting platform offers numerous advantages that will greatly enhance your home gym setup. A lifting platform provides a stable surface for performing heavy lifts, ensuring your safety and allowing you to focus on proper form. This is especially important for exercises like squats and deadlifts, where stability is crucial.
By building a weightlifting platform, you can protect your floors from damage caused by heavy weights and repeated drops. This is particularly beneficial if you have a garage gym or a designated workout space at home.
In addition to its practical benefits, a DIY lifting platform adds aesthetic appeal to your home gym. It gives your workout space a professional look and creates a dedicated area for weightlifting.
Moreover, a lifting platform can help reduce noise during your workouts. The combination of rubber mats and plywood used in its construction absorbs the impact and minimizes the sound produced when weights are dropped.
Necessary Materials and Tools
To gather the necessary materials and tools for building your DIY lifting platform, make sure you have:
- Drill
- Drill bits
- Utility knife
- Metallic Sharpie (in gold or silver for an added touch)
- Tape measure
- Water
These items are crucial in ensuring a smooth and efficient construction process.
Now, let's dive into the specific materials needed.
- Plywood Sheets:
- You'll need three sheets of 4x8x3/4 plywood.
- This provides a sturdy base for your lifting platform, ensuring stability during your weightlifting routines.
- Rubber Stall Mat:
- A single 4x6x3/4 thick rubber stall mat is essential.
- This mat helps absorb impact and reduces noise while providing added grip during exercises like deadlifts.
- Screws and Washers:
- To secure the plywood and rubber mat together, you'll need #8 x 1 1/4 wood screws.
- A 100-pack should be sufficient for this project.
- Additionally, #8 flat washers (50-pack) are necessary.
- These washers distribute the load evenly and prevent the screws from damaging the material.
Step-By-Step Guide to Building a Lifting Platform
Now that you have gathered all the necessary materials and tools, it's time to move on to the step-by-step guide for constructing your DIY lifting platform. Follow these instructions carefully to ensure a sturdy and functional platform that will serve you well during your lifting sessions.
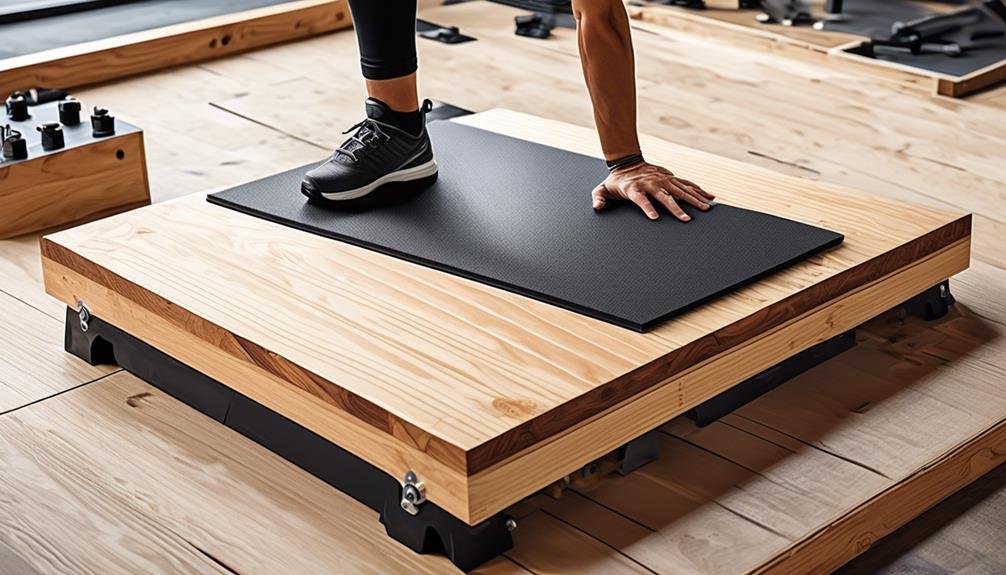
First, lay out two horse stall mats side by side. These rubber mats will provide a durable and shock-absorbing surface for your platform. Make sure they're aligned properly and positioned where you want your platform to be.
Next, place three plywood sheets on top of the rubber mats. These sheets should be sturdy and thick enough to support the weight of your lifting equipment. Ensure that the edges of the plywood sheets are flush with each other and the mats.
Now, it's time to secure the plywood sheets to the rubber mats. Use wood screws to attach the plywood to the mats, placing screws along the perimeter and in the center for added stability.
Once the plywood sheets are securely fastened, your lifting platform is almost complete. However, if you want some added protection for your floor and equipment, you can add a rubber mat on top of the plywood.
Congratulations! You have successfully built a platform for your lifting needs. Now, all that's left to do is to place your bumper plates on the platform and start lifting. Enjoy your new DIY creation and happy lifting!
Tips for Efficient Cutting and Assembly
For efficient cutting and assembly, follow these tips to ensure precise measurements and a professional finish.
- Measure and mark all cuts accurately:
To ensure a precise fit and proper alignment of the materials, it's crucial to measure and mark all the cuts accurately. Use a straight edge and a pencil to make clear and precise marks on the sheets of plywood and the rubber mat pieces.
- Use a sharp utility knife for cutting the rubber stall mats:
Thick rubber mats can be challenging to cut, but using a sharp utility knife will make the process easier and more efficient. Make sure to apply enough pressure and use a steady hand to achieve clean and precise cuts.
- Pre-drill pilot holes for easy assembly:
Before assembling the plywood sheets and frame components, it's recommended to pre-drill pilot holes. This will facilitate the assembly process by ensuring proper alignment and preventing the wood from splitting. Use an appropriate drill bit size for the screws or bolts you'll be using.
Maintaining Your DIY Lifting Platform
Regular maintenance is essential for preserving the appearance, functionality, and safety of your DIY lifting platform. To begin, make sure to regularly clean and wipe down the platform to remove dust and sweat. This won't only keep it looking good, but also help prolong its lifespan. Additionally, inspect the platform for any divots or damage caused by dropped heavy weights. Promptly repairing these issues will ensure a safe and even lifting surface.
Consider using bumper plates to lessen the impact on the platform. Bumper plates are designed to absorb shock and protect the platform, especially the plywood and stall mats. By using bumper plates instead of iron plates, you can extend the lifespan of your platform and reduce the need for frequent repairs.
Furthermore, when building your working weight total, try to use smaller iron plates instead of large ones. This will minimize the wear and tear on the platform's structure.
Lastly, if you have a squat rack bolted to your lifting platform, make sure to periodically check the bolts for tightness. This will help maintain the stability and safety of the rack.
Considerations When Buying a Lifting Platform
To ensure you make an informed decision when purchasing a lifting platform, there are several key considerations to keep in mind, building upon the importance of maintaining your DIY lifting platform.
- Size: Make sure the lifting platform you choose is the right size for your available space and can accommodate your exercise equipment. You don't want a platform that's too small or too large for your needs. Measure the space you have and compare it to the dimensions of the platform before making a purchase.
- Durability: When it comes to the materials used in the construction of the lifting platform, opt for high-quality options like plywood and rubber mats. These materials are known for their durability and ability to withstand heavy use. Look for platforms that have a sturdy frame and a top of plywood that can handle the weight of the equipment you'll be using.
- Surface to Lift: A good lifting platform should have a stable and non-slip surface. This will help prevent accidents during your workouts. Look for platforms that have a textured surface or add a little grip to ensure your feet and equipment stay in place. Additionally, consider platforms that have shock-absorbing properties, as these can help reduce noise when dropping weights.
Frequently Asked Questions
Can You Build Your Own Squat Rack?
Yes, you can build your own squat rack at home. It requires materials like steel pipes, fittings, plywood, and screws. Measure and cut the pipes, assemble and secure the frame, attach the plywood, and voila! You have your DIY squat rack.
How to Make a Home Gym Platform?
To make a home gym platform, start by purchasing materials like plywood, screws, and horse stall mats. Lay the particle board layers perpendicular to each other, secure them with screws, and add the mats on top.
What Size Is a DIY Deadlift Platform?
An ideal size for a DIY deadlift platform is 8 feet long and 4 feet wide. The base is made of 3/4-inch plywood for durability, with 4 x 6 feet rubber stall mats on top for cushioning. It fits well in a home gym or garage.
Is MDF Better Than Plywood for Lifting Platforms?
MDF is not necessarily better than plywood for lifting platforms. While MDF provides a smoother surface, plywood is more durable and offers better moisture resistance. Consider using a combination of both for optimal results.
Conclusion
In conclusion, building a DIY lifting platform or squat rack at home can be a cost-effective and practical solution for creating a stable and professional environment for your workouts.
By following the step-by-step instructions and using the necessary materials and tools, you can successfully build a lifting platform that suits your needs.
Remember to consider factors like space and overhead lifts when designing your platform.
With proper maintenance, your DIY lifting platform can provide long-lasting support for your weightlifting routine.