Disclaimer: This content is for informational purposes only and does not replace professional medical advice, diagnosis, or treatment. Always consult a qualified healthcare provider before beginning any new exercise program.
You’re probably wondering how to transform those empty milk jugs cluttering your recycling bin into effective fitness equipment. Turning household waste into workout tools isn’t just eco-friendly—it’s smart and cost-effective. Kettlebells can be expensive, but with some basic materials and a bit of creativity, you’ll craft a personalized training companion that rivals store-bought options. Curious about turning everyday items into a fitness solution that saves money and reduces waste? Here’s how you can get started.
Key Takeaways
- Clean and thoroughly disinfect milk jugs, ensuring they are free from bacteria and suitable for fitness equipment construction.
- Select dense filling materials like fine sand or concrete to create consistent weight distribution within the milk jug kettlebell.
- Cut and modify the milk jug carefully, removing bottom flanges and preparing surfaces for handle attachment and weight plate integration.
- Install a sturdy pipe or handle configuration that provides ergonomic grip and allows for comfortable weight training movements.
- Securely seal all joints and connections, conduct regular safety inspections, and start with lighter weights to prevent potential injuries during exercise.
Why Upcycle Milk Jugs for Fitness Equipment?
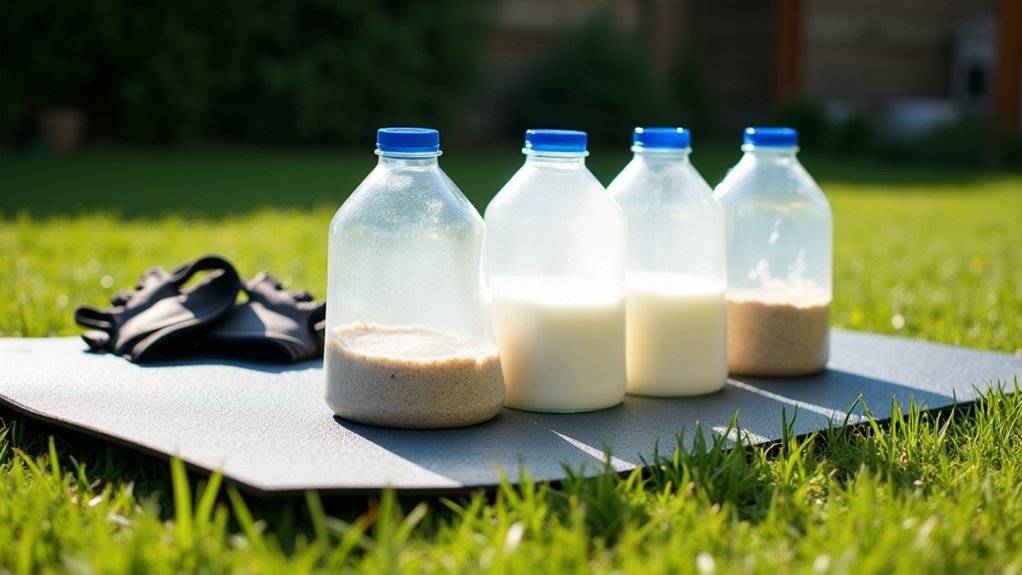
When it comes to sustainable fitness equipment, upcycling milk jugs into kettlebells offers an innovative solution that addresses both environmental and economic concerns. By transforming discarded plastic containers into functional workout tools, you’ll divert waste from landfills while creating cost-effective exercise equipment. Milk jugs can be easily filled with water, sand, or rocks to achieve a practical weight of approximately 8.5 pounds, making them ideal for strength training. This approach minimizes manufacturing waste and reduces reliance on single-use plastics. You’ll save money—typically spending less than $20—and gain a customizable fitness resource that promotes resourcefulness. The simple conversion process requires minimal tools, enabling you to create personalized kettlebells that support both your fitness goals and environmental consciousness.
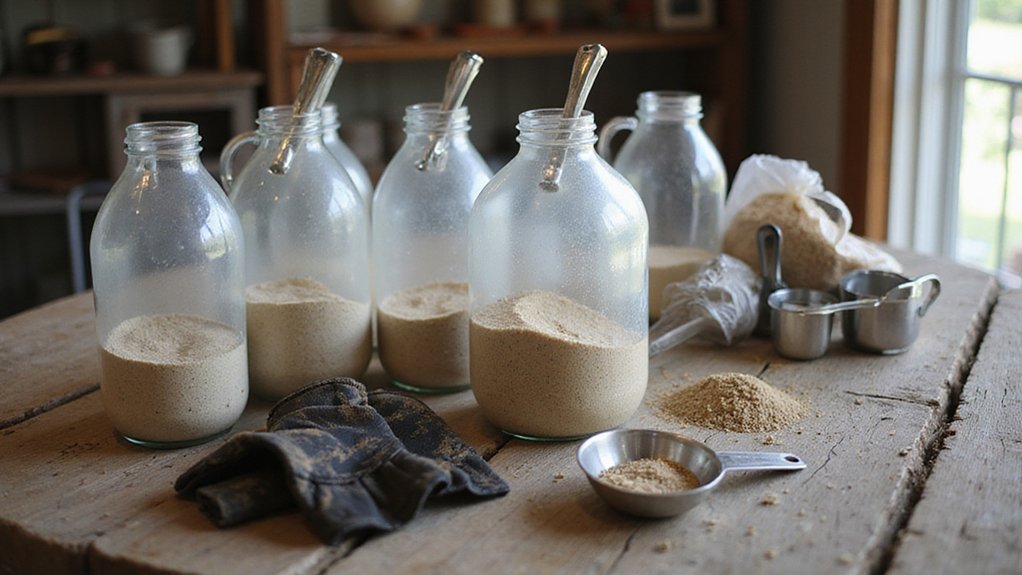
Gathering Your Materials and Tools
Ready to transform your eco-friendly fitness vision into reality? Start by sourcing clean, empty milk jugs from friends, family, or local coffee shops. You’ll need larger crafting scissors for precise cutting along the jug’s seams. Select a sturdy plastic gallon jug that can withstand filling with weight materials like water, sand, rocks, or concrete. Thoroughly clean and disinfect the milk jug to guarantee workout safety. Optional materials include labeling tools like pens or stickers, though these won’t impact functionality. Your primary focus should be on creating a durable, functional kettlebell that supports your fitness goals while reducing waste. Choose a jug with minimal wear and a secure lid to prevent leakage during your strength training sessions.
Safety Precautions Before Starting
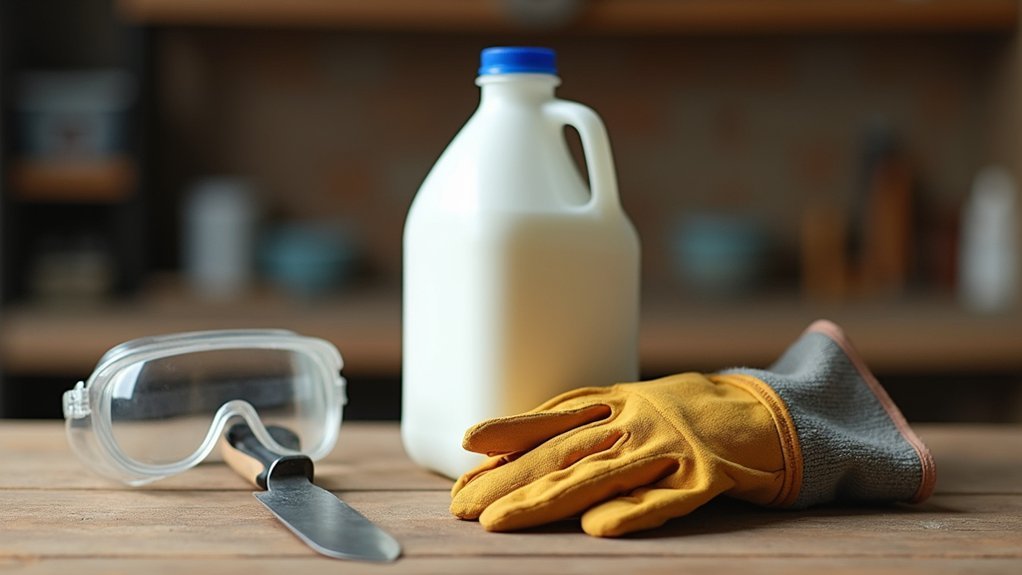
Although DIY fitness equipment offers creative solutions, safety must be your top priority when converting milk jugs into kettlebells. Implementing critical safety precautions guarantees a successful and risk-free project:
- Clean and disinfect plastic milk jugs thoroughly, eliminating potential bacterial contamination that could compromise your equipment’s integrity.
- Wear protective gloves when handling sharp cutting tools to prevent hand injuries during the fabrication process.
- Perform thorough structural assessments of your materials, verifying they can safely withstand workout weights and repetitive movements.
Before commencing assembly, carefully inspect all components for potential weaknesses. Monitor the developing kettlebell for signs of structural compromise or damage. If you’re uncertain about the appropriateness of homemade fitness equipment for your specific training regimen, consult a fitness professional who can provide personalized guidance and recommendations.
Cleaning and Preparing Your Milk Jug
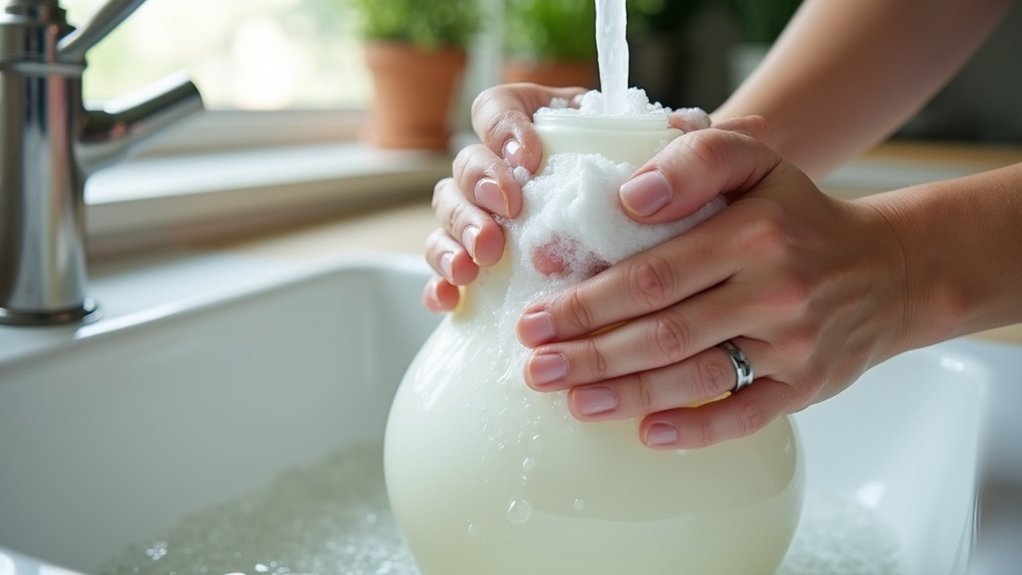
Precision begins with proper preparation: transforming a discarded milk jug into a functional kettlebell requires meticulous cleaning and sanitization. You’ll want to start by thoroughly rinsing the empty milk jug with warm, soapy water, ensuring all milk residue is completely removed. This initial cleaning prevents potential odors and bacterial growth.
After rinsing, allow the jug to dry completely. Moisture can lead to mold, which compromises your kettlebell’s integrity. Next, use a disinfectant spray or sanitizing wipes to eliminate any remaining bacteria on both the interior and exterior surfaces. Pay close attention to corners and crevices where microorganisms might hide.
When the jug is pristine, remove any labels and caps. You’re now ready to proceed with the transformation, knowing your milk jug has been thoroughly cleaned and prepared for its new fitness purpose.
Filling Techniques for Optimal Weight
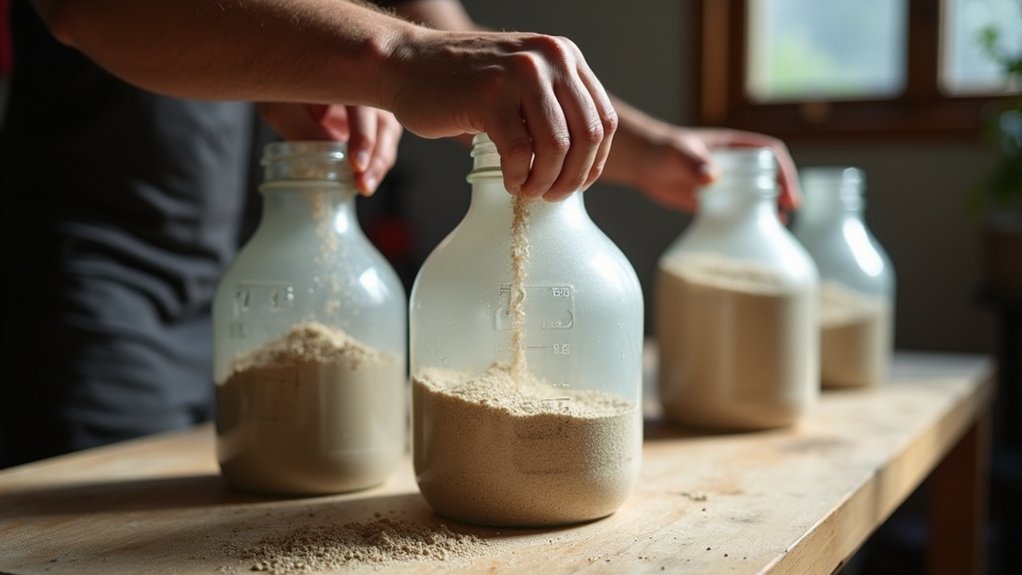
With your milk jug now thoroughly sanitized, the next phase focuses on strategic weight distribution to craft an effective homemade kettlebell. Consider these filling techniques:
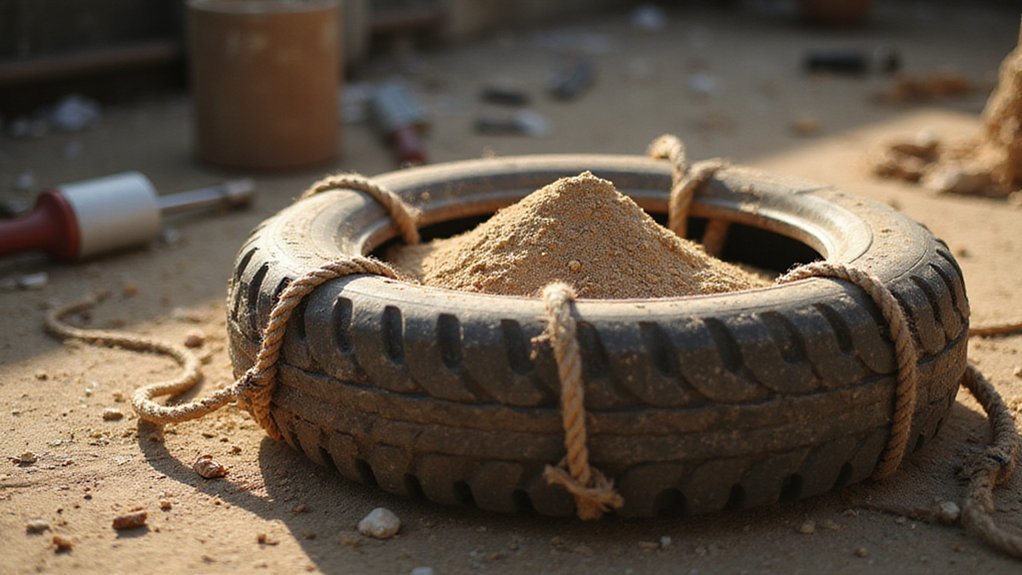
- Sand Filling: Use fine sand for consistent weight distribution, guaranteeing equal amounts on both sides of the jug. Sand allows for a malleable fill that easily conforms to the jug’s shape.
- Weight Calculation: Precisely measure your desired weight by understanding material density. A full 32 fl oz jug of liquid weighs approximately 2 lbs, so adjust your filling accordingly.
- Material Selection: Choose dense materials like concrete for compact weight or opt for sand for more flexible weight options. Always weigh the filled jug before securing to confirm safety and consistency during workouts.
Balanced weight guarantees peak performance and prevents unexpected shifts during exercise.
Sealing and Securing Your Homemade Kettlebell
After carefully filling your milk jug with the chosen weight material, sealing and securing become critical steps in crafting a safe, durable homemade kettlebell. Tightly screw all joints to prevent disassembly during use, and reinforce weak spots with duct tape for added stability and noise reduction. Cap pipe ends securely with galvanized end caps to prevent material spillage.
| Sealing Technique | Purpose |
|---|---|
| Tight Screws | Prevent Joint Separation |
| Duct Tape Reinforcement | Enhance Structural Integrity |
| Galvanized End Caps | Prevent Material Leakage |
| Regular Inspection | Maintain Safety |
When adding weight plates, remove the bottom flange and secure them firmly with duct tape. Regularly inspect your kettlebell for wear and tear, focusing on joints and caps to guarantee continued safe usage during workouts.
Basic Exercises With Your Upcycled Equipment
Grab your newly crafted milk jug kettlebells and prepare to transform your home workout routine. These versatile upcycled weights offer an affordable, effective strength training solution. Focus on mastering fundamental exercises:
- Bicep Curls: Hold jugs at sides, curl upward, engaging arm muscles while maintaining controlled movement.
- Deadlifts: Position filled jugs on ground, bend knees, grip handles, and lift using proper hip and back mechanics.
- Overhead Presses: Raise jugs from shoulder height, extending arms fully overhead, targeting shoulder and tricep muscle groups.
Experiment with different fill materials like water, sand, or rocks to adjust resistance. Verify balanced weight distribution between jugs for symmetrical training. As you progress, combine multiple jugs or incorporate additional household items to increase workout intensity and challenge your muscle development.
Maintenance and Care Tips
Because proper maintenance extends the lifespan of your upcycled milk jug kettlebells, you’ll want to develop a systematic care routine that preserves both functionality and safety. Thoroughly clean each plastic gallon container before transforming it, removing all residual substances and sanitizing its surface. Regularly inspect your homemade kettlebell for potential structural weaknesses like cracks or compromised seals that could impact workout performance. Store the equipment in a dry, cool environment to prevent material degradation and maintain its integrity.
When adding weights inside the jug, secure them meticulously to prevent shifting during exercises. After each workout, wipe down the exterior with a damp cloth to remove dust and grime, ensuring ideal grip and preventing potential contamination. Periodic maintenance will keep your upcycled kettlebell reliable and safe for continued use.
Scaling Weight and Difficulty Levels
While fitness progress demands strategic adaptability, scaling your upcycled milk jug kettlebell’s weight and difficulty levels can be achieved through methodical adjustments. Consider these weight modification techniques:
Elevate your fitness journey by strategically adapting your homemade milk jug kettlebell’s weight and complexity.
- Filler Variation: Experiment with different materials in your gallon jug, ranging from water to sand or rocks, enabling precise weight customization. A full 32 fl oz jug provides approximately 2 lbs of resistance.
- Weight Plate Integration: Remove the bottom flange and incorporate additional weight plates (5 or 10 lbs) to incrementally increase kettlebell resistance. Longer vertical pipe sections accommodate stacked plates for progressive loading.
- Handle Configuration: Adjust handle width using alternative pipe lengths, ensuring ergonomic comfort while enhancing workout effectiveness.
Beginners should start with lighter weights, gradually increasing load complexity as strength and technique improve, transforming a simple milk jug into a versatile, personalized fitness tool.
Creative Variations and Modifications
As you master the basic milk jug kettlebell design, innovative modifications can transform your homemade fitness tool into a customized workout powerhouse. Experiment with adjusting the handle width by replacing standard pipe pieces with smaller alternatives, ensuring a more comfortable grip for your specific hand size. When adding weight plates to your plastic jug kettlebell, secure them using duct tape to minimize noise and enhance stability. Advanced users can explore vertical pipe extensions to increase weight capacity, allowing for progressive resistance training. You’ll find that strategic modifications like inserting 5 or 10-pound plates can dramatically change your kettlebell’s performance characteristics. By thinking creatively about your jug-based design, you’ll develop a versatile, personalized fitness implement that adapts to your evolving strength and training goals.
Frequently Asked Questions
Is 30 Minutes of Kettlebells Enough to Build Muscle?
You’ll build muscle effectively with 30-minute kettlebell sessions, focusing on progressive overload and muscle recovery. High-intensity movements like swings trigger strength gains, ensuring consistent training maximizes hypertrophy and functional muscle development.
What Is Joe Rogan’s Kettlebell Routine?
Like a well-oiled machine, Rogan’s regimen involves explosive 1.5 pood kettlebell swings, integrated with high-intensity intervals. He’ll focus on proper form, driving power through hips, performing multiple sets to enhance strength, conditioning, and overall functional fitness.
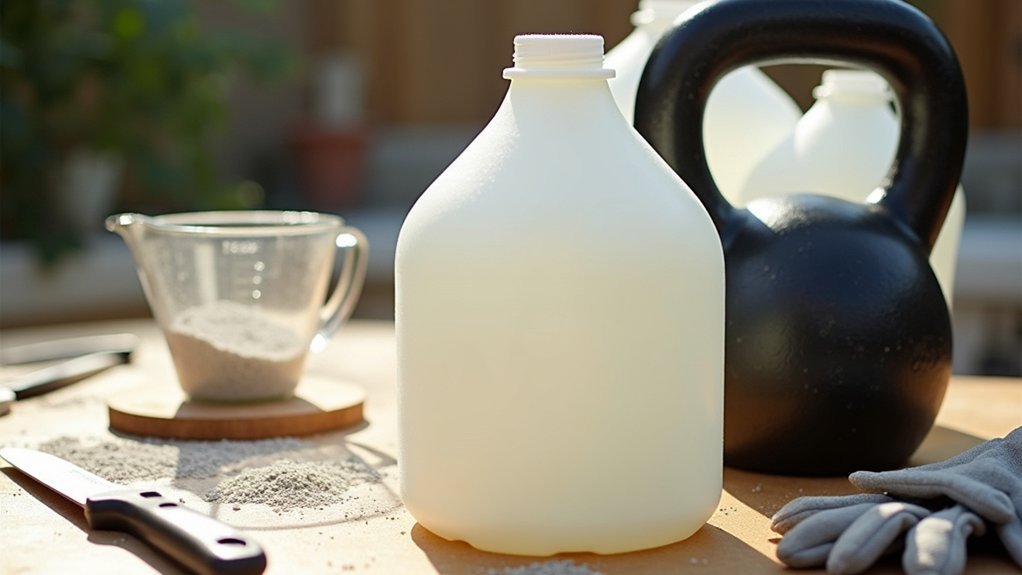
How to Make a Kettlebell at Home?
You’ll create a home kettlebell by filling a sturdy plastic jug with sand or concrete, securing a galvanized pipe handle, and adding weight plates. This DIY approach offers cost-effective strength training with versatile kettlebell benefits for home workouts.
Can You Actually Build Muscle With Kettlebells?
You’ll definitely build muscle with kettlebells! They’re highly effective for strength training, engaging multiple muscle groups simultaneously. Their unique design promotes dynamic movements that boost muscle hypertrophy, enhance strength, and improve overall muscular endurance through challenging, extensive workouts.
Conclusion
You’ve transformed ordinary milk jugs into powerful fitness tools, proving sustainability and strength training can coexist. Isn’t it remarkable how simple materials can become workout equipment? By carefully selecting, cleaning, and weighting your jugs, you’ve created budget-friendly kettlebells that challenge your muscles and reduce waste. Keep experimenting, maintain your equipment, and watch your homemade fitness journey evolve – one upcycled jug at a time.